
How to Create an Online Course in Kajabi (Set-up Tutorial for Absolute Beginners)

I’ve lost count of how many Kajabi courses and memberships I’ve set up over the years.
I’ve seen all the beginner chaos. People stuck in a maze of tutorials and getting utterly overwhelmed because Kajabi is yes…powerful, but it’s BIG learning curve.
Now, I typically launch someone’s course in 2 days - thanks to a streamlined process. Let me share with you that process.
Step-by-Step: How to Set Up a Kajabi Course (the right way)
This is the actual order I follow when setting up a course or membership for my clients. It’s designed to save time and avoid the dreaded double-handling.
I will not be going to go into detailed instructions - but I will give you the timesaving ORDER.
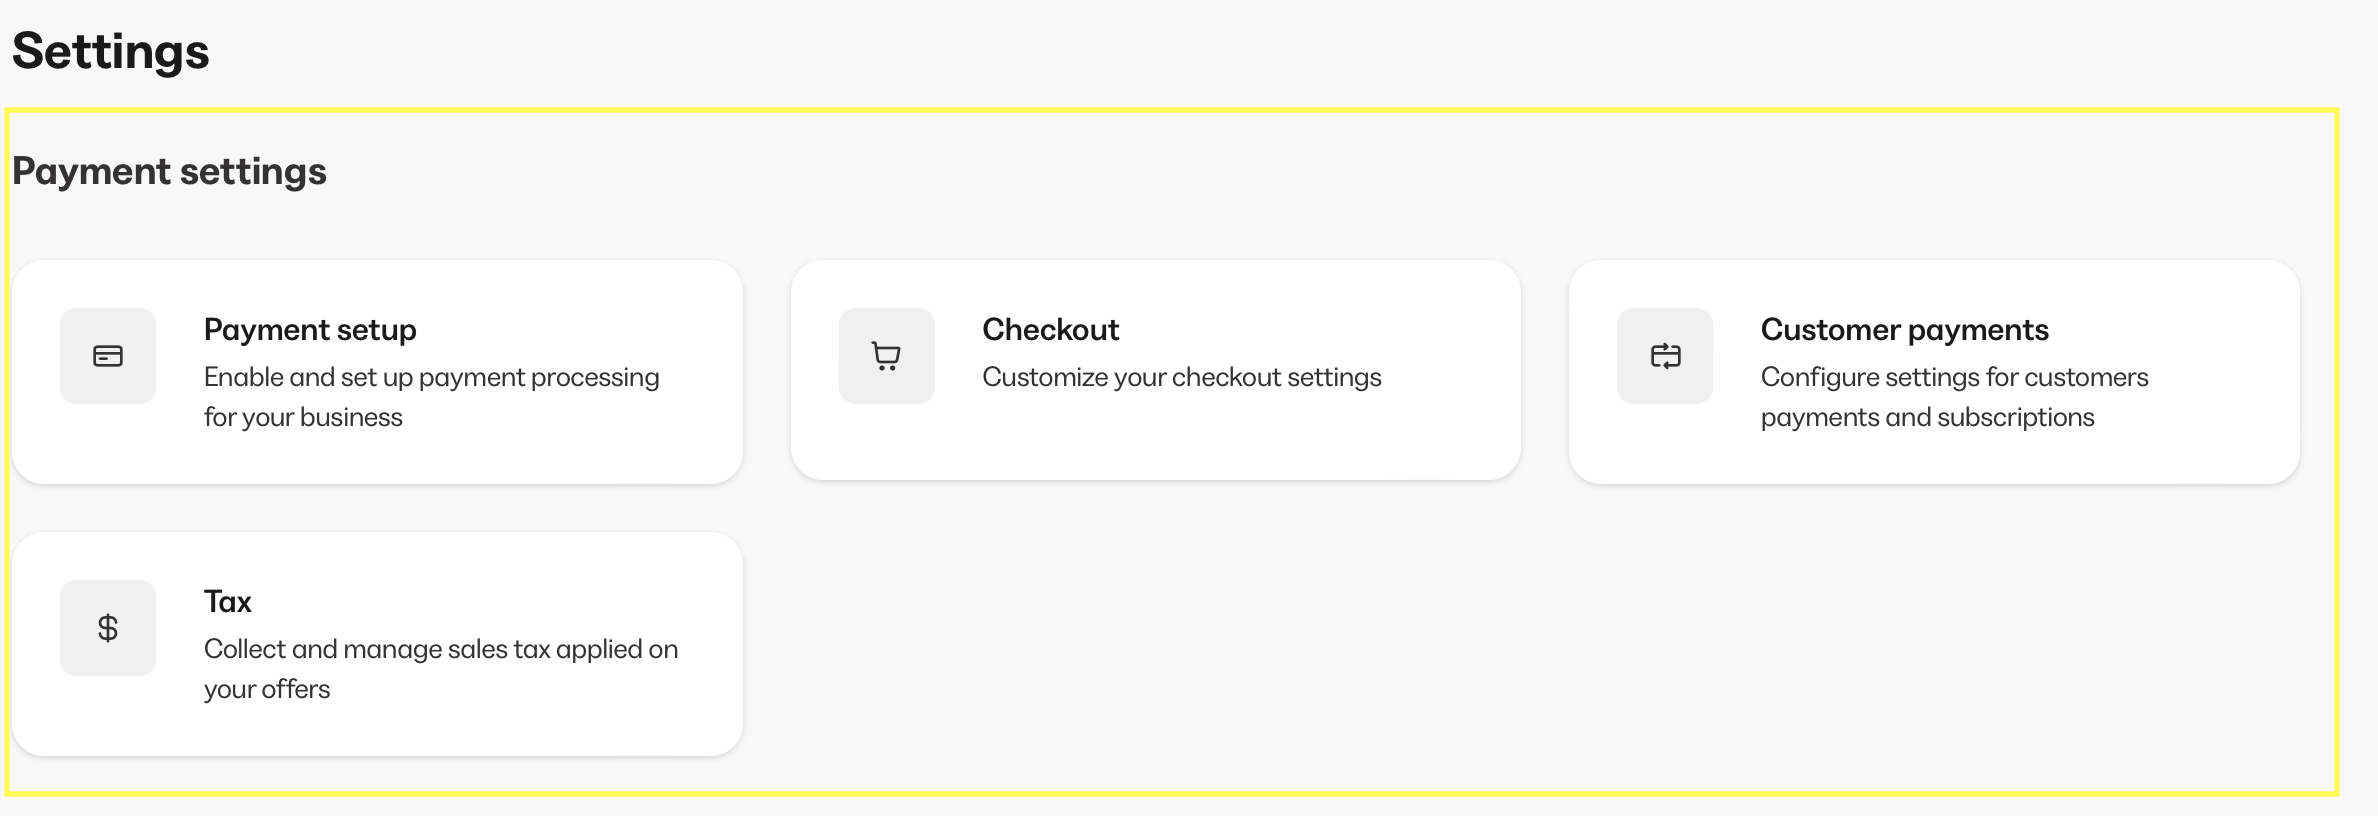
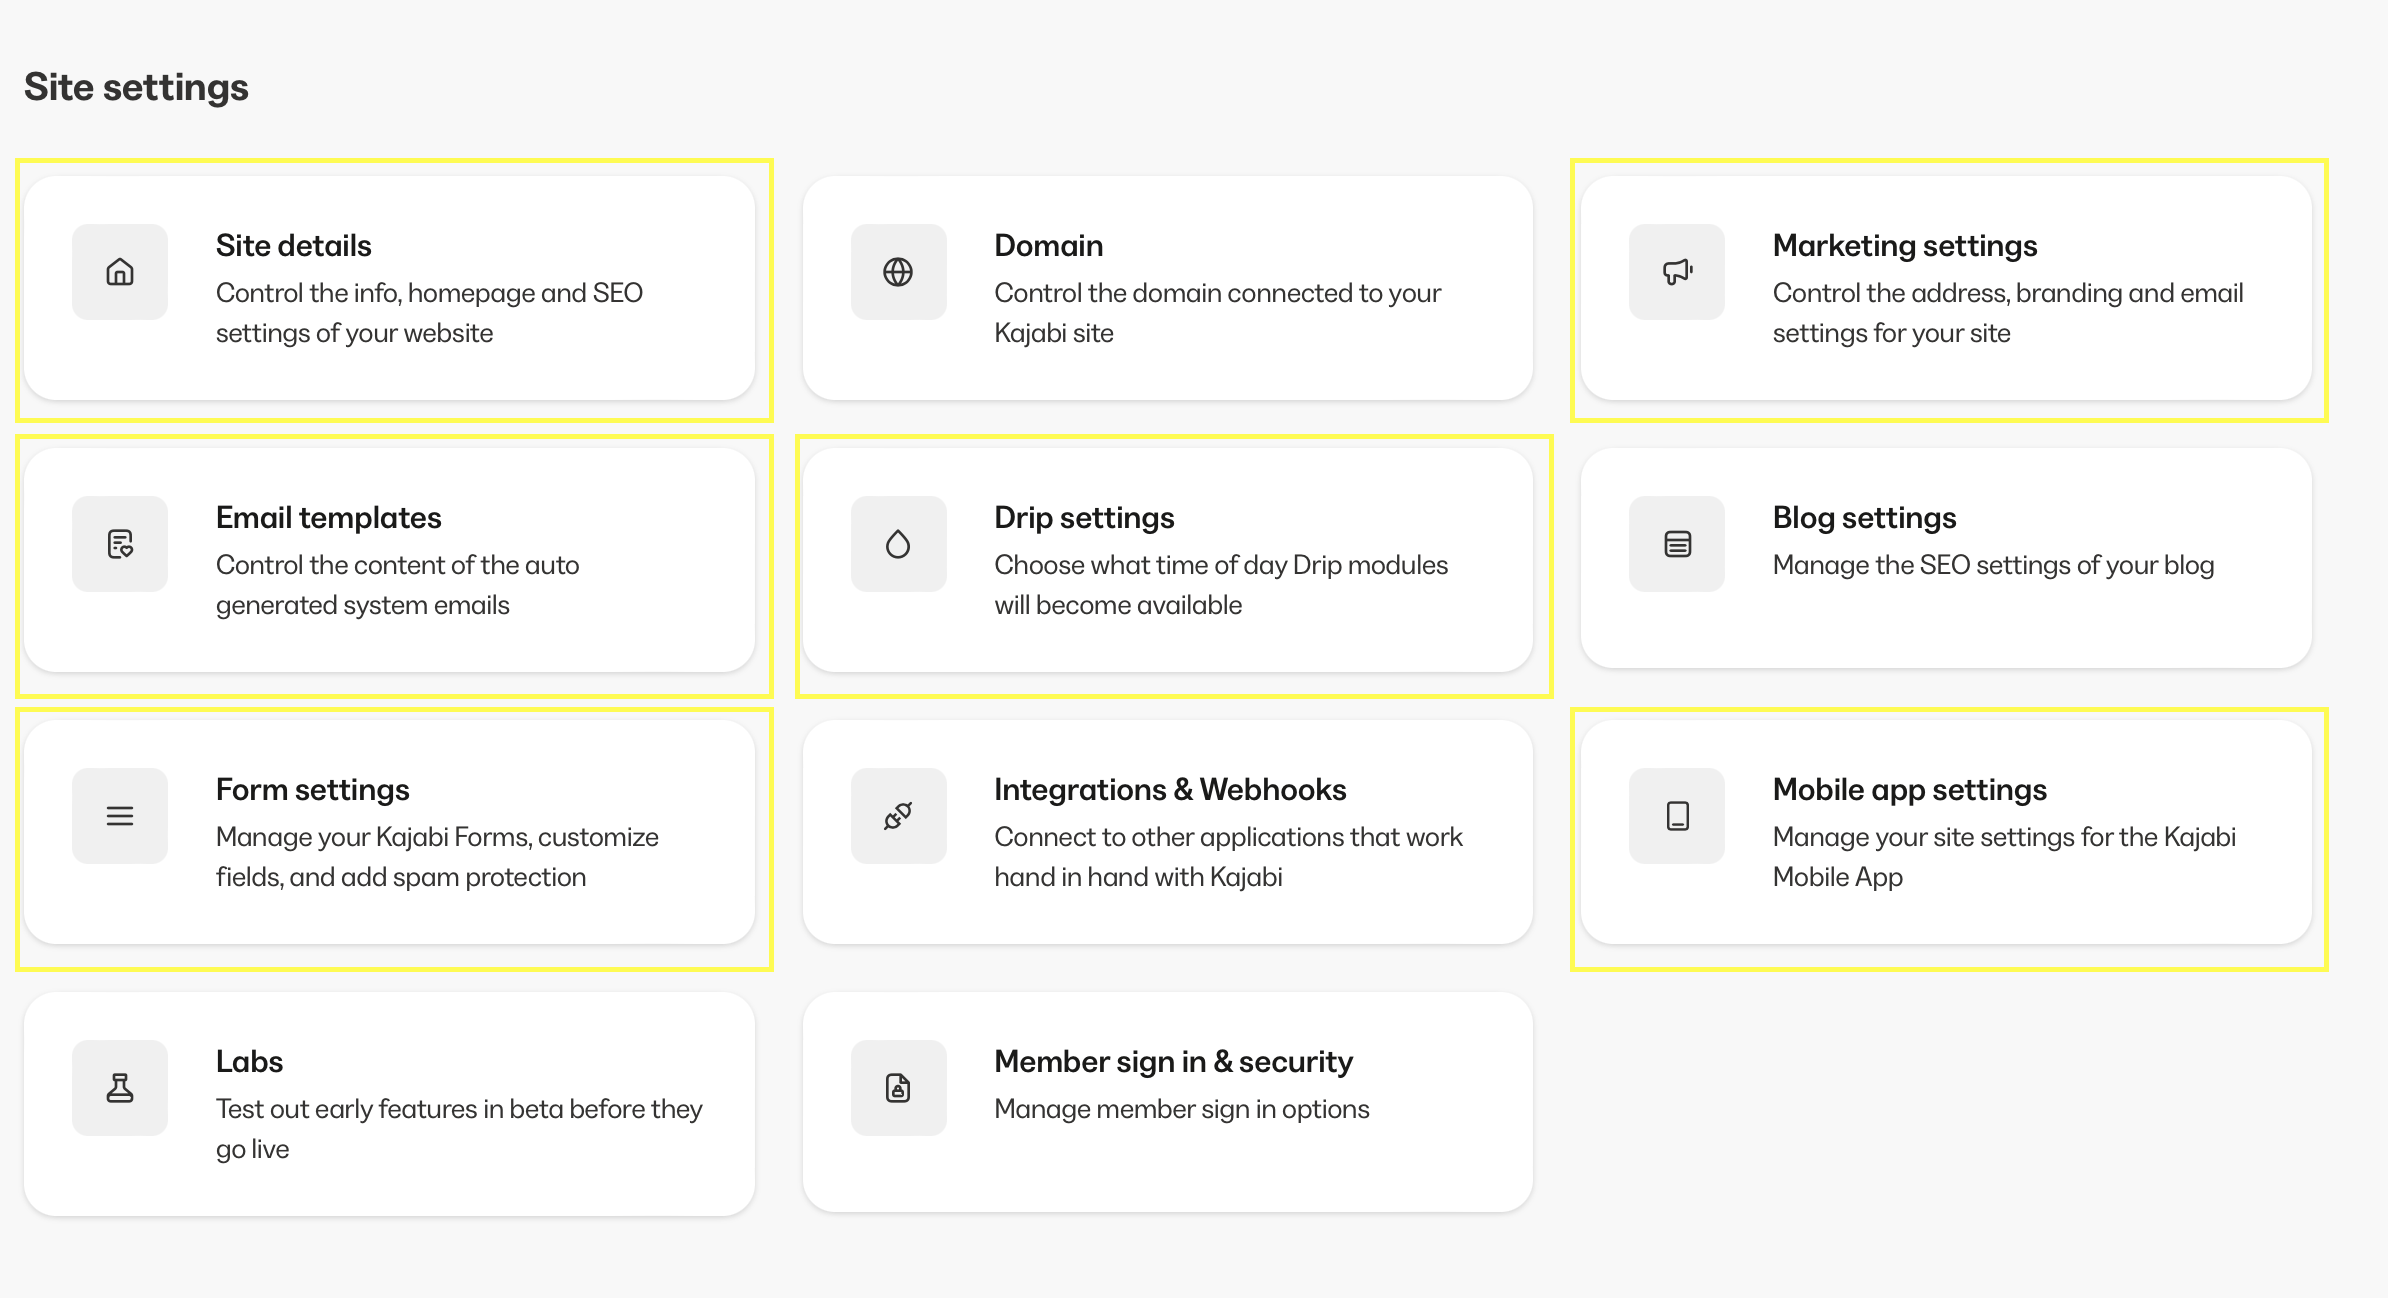
1. Settings First, Always
Head to the Settings tab in Kajabi (left hand corner) and pay close attention to each of the tabs highlighted in yellow.
Site Settings (add your logo, brand colours and key info)
Payment Settings – I recommend using Kajabi Payments for lower fees and faster checkouts
💡 Pro tip: Add your hex codes (colour codes) into the branding section. This saves so much time when designing.
Make sure you auto-subscribe all buyers to your email list if allowed in your country– otherwise they might miss your welcome email!
2. Set Up Your Basic Website Pages
Kajabi comes with some default website pages that members will find their way to:
404 Page
Login*
Thank You
Library*
Store
Announcements
You don’t need to build a full website here – just make sure these pages are lightly branded and not hideous - especially the login & library.
Head to Websites > Pick a theme and edit these pages above so they match your vibe.
These are JUST the basics needed for launching the course.

3. Create Your Kajabi Product (Your Course)
Now we’re getting to the juicy bit: creating your course!
In Kajabi, a Product = the actual course
Choose a theme:
Momentum is best for memberships or content library style offerings.
Premier is fab for self-paced courses where you want the curriculum on the homepage
Customize your theme ‘landing hub’ (where they first land when entering your course) to make it easy to navigate. Add a welcome video & message. Maybe edit that menu nav bar at the top so it’s linking to what you want.
Skip connecting payments for now — that comes later
This is just about building the bones of your course so you’re ready to add the content.
You can add the content now if you like. Modules & submodules are topic headings, Lessons are the content which sit within modules/ submodules - video with audio, files (downloads).
You will need to create thumbnails for at least Modules & Sub Modules - but may want to create for lessons too. Make the thumbnail text big and clear, maybe don’t write ‘Lesson 2’ on said thumbnail if you plan to change the lesson order around.

FREE template + training for getting your Waitlist launched today!
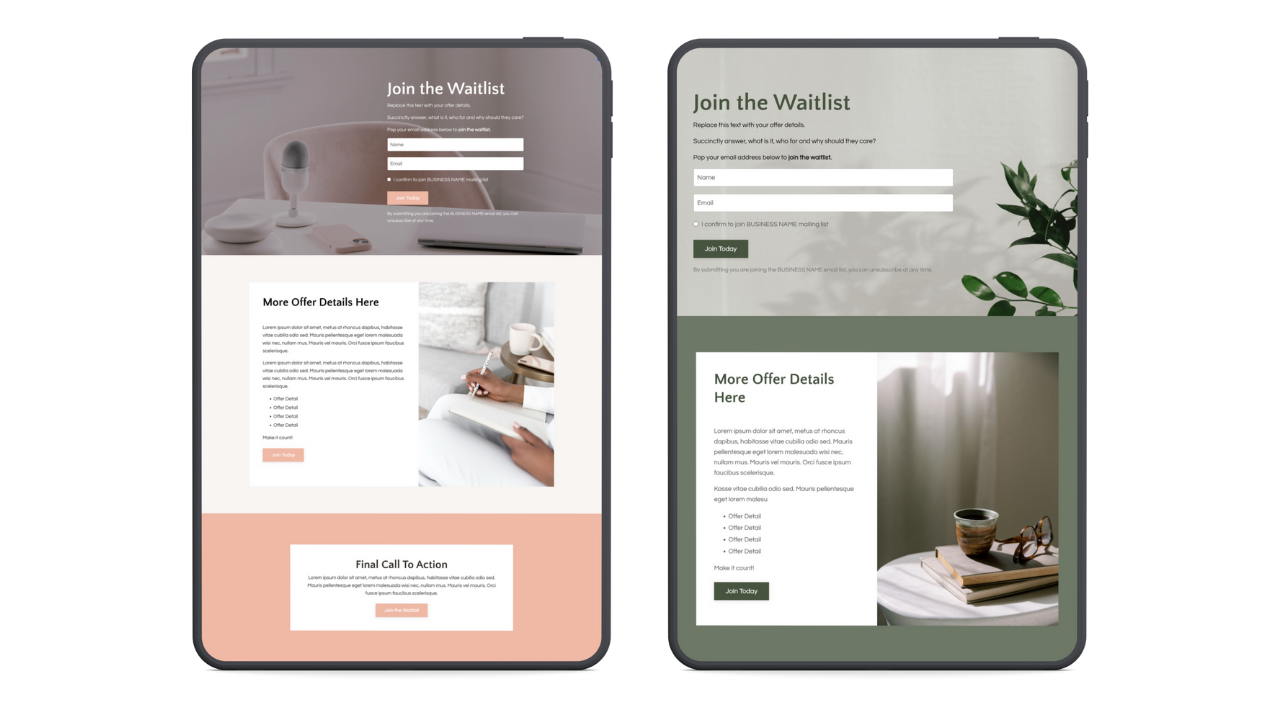
Pop your details below and I will send it straight over!
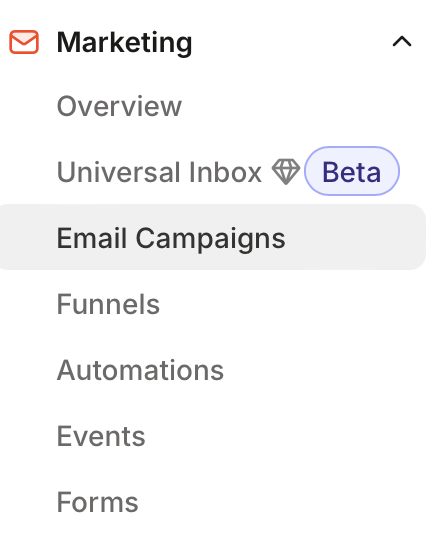
4. Design Your Course Welcome Email (Marketing > Email Sequence)
You’ll find this under The Marketing Tab > Create A New Email Sequences.
Your welcome email sequence is triggered after purchase, so it needs to:
Sound like you
Be clear on what they’ve just bought and set expectations
Explain how to access the course (link to /login website page)
💡 Top tip: Save the design as a template so you can reuse it across all future emails.
Kajabi Tutorial https://help.kajabi.com/hc/en-us/articles/360037454174-How-to-Create-an-Email-Sequence
(Don’t worry about adding a trigger now)
5. Create the Kajabi Offer
Now this bit’s important – the Offer is what links your product to payment.
Here’s what to do:
Head to Sales > Offers. Create an offer and attach your Product
Under Automations, add:
“When someone purchases this offer” → Subscribe to email sequence (the welcome one you just wrote)
“When someone is granted this offer” → Same email sequence (covers free access folks)
Set your price under the Pricing tab
Under Settings > Add your Terms and Conditions (service agreement) & Toggle on “Get notified when someone purchases” add your email address.
Also make sure you are toggling on the form field data you need to collect (name.. phone…)Click the Customize tab to edit the front-facing offer checkout page:
Add visuals, copy, testimonials, FAQs
Think of this like your mini sales page - you can actually use it as one if you are not planning on created a separate sales page.
6. Build the Kajabi Sales LANDING Page (if using)
This is the bit most people jump to way too soon (I see you 👀) and it is time consuming… especially if you don’t have the copy ready to go.
But now that your offer is ready, you can confidently design your Landing Page (Sales Page) if you are not designing on your own website (or if you are using the Offer page as a mini sales page)
Head to Website > Landing Pages.
Use a Kajabi template or upload a paid one if you’ve bought a fancy design
Make sure your BUY NOW button links directly to the Offer you just created
Save sections for later use - duplicate sections for speed.
Double-check the mobile view – Kajabi can look whack on phones if you’re not careful
If needed, create separate mobile-only sections and toggle visibility (Kajabi lets you hide/show blocks based on device)
7. Connect Your Domain + Email
You can only do this after you upgrade from the free trial and if you’re not on the Kickstarter plan.
Once upgraded:
Go to Settings > Domain and connect your custom domain
Connect your email sending domain for better deliverability (Kajabi guides walk you through this part)

Final Thoughts:
Kajabi can be overwhelming at first. With great power comes… a sh*t ton of work to get set up.
But if you follow the above order with your setup you'll skip the classic newbie pitfalls like:
Editing pages that won’t be used
Faffing with funnels and email newsletters
Launching with no welcome email in sight
Getting bogged down in the unnecessary bits
And hey – if you’re already tired just reading this?
Want Help Setting Up Kajabi?
I set up Kajabi courses and memberships for a living. If you want to skip the Googling, guessing and rage-quitting, I can help you set it up in days not weeks.
👉 Check out my Done for you Kajabi services here
👉 Want to get going TODAY? The Kajabi Launcher course is the one for you. Fancy a sneak peek at the course for 7 days? Click here.
Let’s get your course out of your head and into the world.
Charlotte x
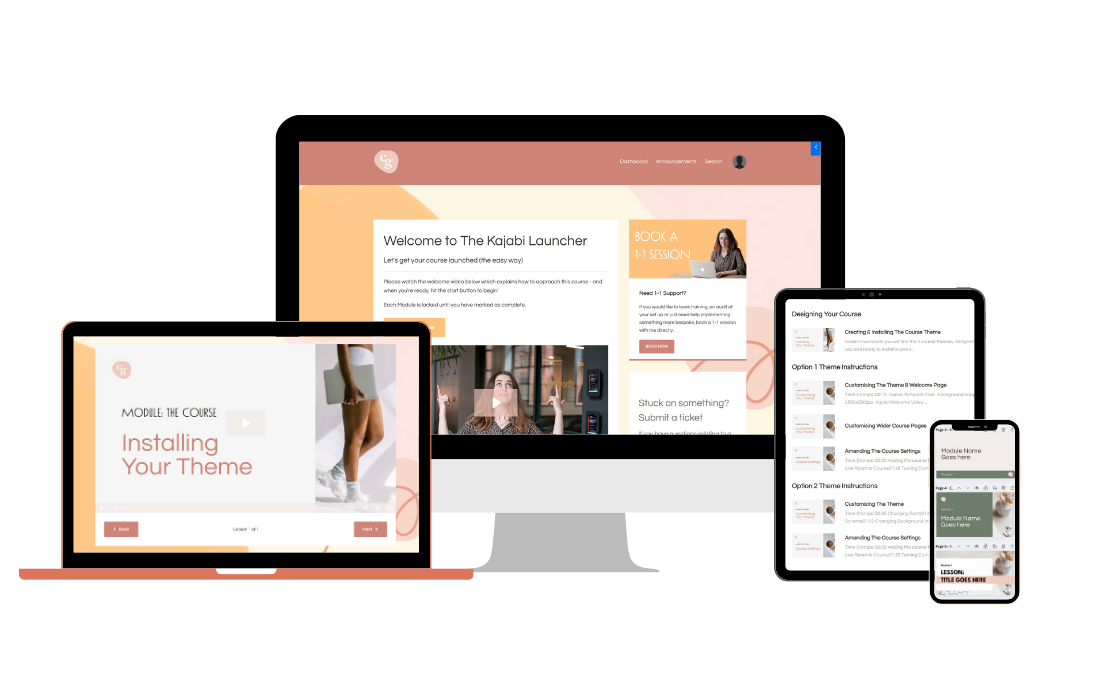
Check out my Kajabi Launcher course here